How to launch a new website

Launching a new website is a step-by-step process that requires careful planning. Mistakes made early on can lead to extra costs and problems later.
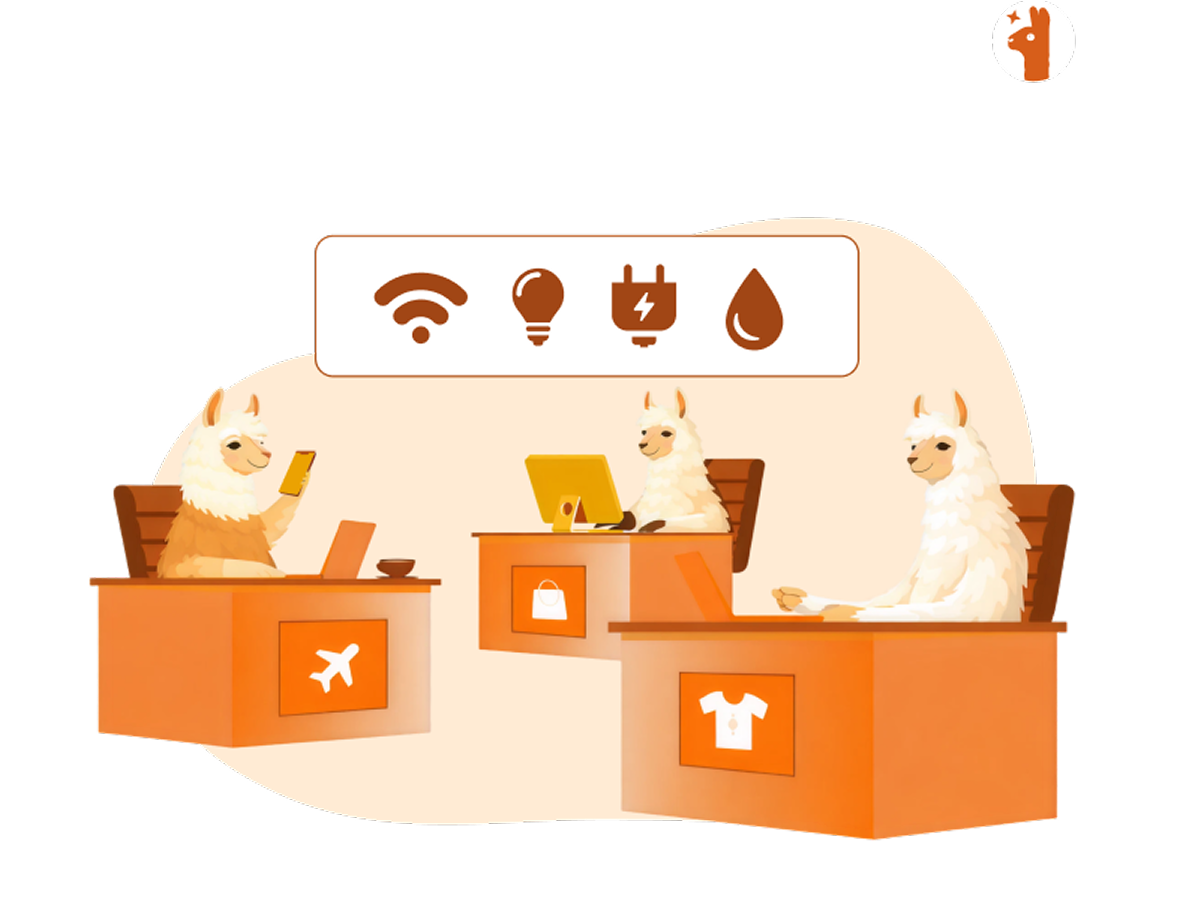
But you shouldn’t worry about any of that, at all, because SpaceLama will help you get ready for a successful website launch. These are the essential steps to prepare for a successful website launch, from researching your audience and choosing a hosting provider to testing your website and setting up all the necessary analytics tools.
Step 1. Define the website’s purpose and objectives
You need to answer one key question: why do you need a website? The purpose of your website will determine its layout, features, content and cost. For instance, a website for selling products will look different from one that serves as an online portfolio.
Common types of websites include those for:
- selling products or services
- generating leads
- showcasing a brand
- offering online services or SaaS
- hosting a blog or media project
A website can serve several purposes, but it’s helpful to focus on the main goal. Answer these questions before launching:
- What do you want users to do on the website?
- How will the website help your business?
- What actions will mean success (e.g., purchases, form submissions)?
- Who is your target audience?
- How will your website stand out from competitors?
Step 2. Research your audience and competitors
Next, you need to understand who your website is for and what other similar websites are doing. Many projects make mistakes by focusing only on their own ideas instead of considering what users want.
You should learn about your audience’s age, interests, and motivations. Find out what problems they are trying to solve, what helps them make decisions, and which devices they use most. The better you know your users, the easier it will be to design a clear and appealing website.
Looking at competitors can provide helpful information, too. Check their websites to see what works well and what doesn’t. Look at how they organize their pages, what services they offer, and how they position themselves in the market. Find ways to do something better or different.
Step 3. Choose a domain name
A domain is your website’s address on the internet. It affects how easy it is for people to find you and can impact how they see your brand. A good domain should be simple, clear, and related to your project.
Changing your domain later is possible, but it can lead to losing visitors and search rankings. It’s better to choose the right name at the start.
If your brand name is unique, use that. If you’re still building your brand, think about adding a keyword related to your niche.
The type of domain extension (like .com, .net, .fr) is also important. This choice should be based on where your audience is located and your future plans:
- .com is a popular choice worldwide
- country-specific domains (like .kr, .fr, .de) work well for local businesses
- industry-specific extensions (like .tech, .store, .ai) can strengthen your brand
Before registering, make sure your domain is available and doesn’t infringe on anyone else’s trademarks (otherwise it may ruin your business). Do check your domain name history as well. If your domain budget allows, consider securing multiple domains, including common misspellings or popular extensions.
Step 4. Choose the right hosting
Hosting is what keeps your website running. It affects how fast your pages load, how safe your data is, and how well your site grows. Choose a hosting option based not just on price but also on your website’s goals.
Here are the most common options:
- Shared Hosting. Many websites share a single server; good for small blogs and brochure sites.
- VPS / VDS. Dedicated resources on a virtual server; best for growing projects and online stores.
- Cloud Hosting. A flexible option that grows with demand; often used for business projects.
- Dedicated Server. A single physical server for one project; best for high-traffic websites.
When choosing your hosting provider, consider speed, reliability, security, and customer support. Many hosting providers allow you to create email addresses with your domain (like [email protected]) during setup. We know we do)!
And, if you plan to grow, start with a hosting option that can expand with you. While moving to a new host later is possible, it’s always a hassle.
Step 5. Plan your site structure (Sitemap)
The way your website is built affects how pages are organized and how users move between them. At this point, you’re outlining the information layout: what sections you need and how they connect.
Start by creating a sitemap or a page list. You can do this on paper or use simple tools like Miro or Figma.
Typically, you’ll plan for:
- main sections (like Home, About Us, Services, Pricing, and Contact)
- extra pages (like a blog, FAQ, case studies, and reviews)
- pages for conversions (like contact forms or shopping carts)
- legal pages (like a privacy policy and terms of use)
Your site structure should follow how your business works and guide users to do what they want. If users don’t know where to click, your site won’t function well.
Step 6. Define functionality and integrations
After sorting out your website structure, you need to decide what features the website should have. These features affect your technology choices, costs, launch timelines, and setup requirements. You’ll want to define both what users see and the internal processes that work behind the scenes.
Depending on your project, you might need:
- feedback and contact forms
- online payments and a shopping cart
- user accounts
- sitewide search
- customer support chat
- reservations or appointments
- subscriptions and newsletters
- a blog or content management system (here are the best 15)
- file uploads
You should also think about integrating with outside services like CRM systems, payment gateways, email services, analytics, or social media.
A good way to organize features is by category: what the user needs, what the business needs, and what would be nice to have.
Step 7. Choose a technology or CMS
Once you’ve set your website’s goals, structure, and functionality, it’s time to choose a platform for your site. There’s no single best option for everyone. Your choice depends on your goals, budget, and technical needs.
Here are some common approaches:
- CMS (Content Management Systems) like WordPress, Joomla, or Drupal. Best for corporate sites, blogs, landing pages, and small online stores.
- Website builders like Wix, Webflow, or Tilda. They’re just not that good. Avoid them if you can.
- Custom development involves building a site from scratch with frameworks like React or Laravel. This is useful for complex services.
- E-commerce platforms like Shopify or Magento for online stores.
Key factors when choosing a solution are functionality complexity, budget, launch speed, scalability, ease of managing content, integration, and security needs. Sometimes, starting cheap can cost more later as your project grows.
Step 8. Create prototypes and UX mockups
Before diving into the visual design and development, think about how users will interact with your site. Create wireframes – these are basic layouts showing where things will go without the final design. These can range from simple sketches on paper to interactive diagrams in Figma or other tools.
This stage helps you focus on usability and user behavior without getting distracted by colors and styles. During the UX phase, define the user journey, key interaction points (like buttons and forms), the order information appears, and how it looks on mobile devices.
Step 9. Develop a visual design
Once your structure and UX are approved, you can start on the site’s visual design. This is where you decide how your site will look and how users will experience it. Design is important for trust, brand image, and conversion rates. If your company has a brand guide, the website design should match it.
Start by designing key pages (like the homepage and main service page). Finalize your style before applying it to other sections. This speeds up the process and reduces chances of needing major changes later.
Step 10. Develop the website
Development involves putting together everything you planned, like front-end design, back-end code, server setup, and all the features. This is where the user experience comes to life.
How complex this stage is and how long it takes depend on the technology you choose and the functionality needed. It’s helpful to do regular checks during this phase.
Testing throughout development can help catch big issues before the project ends. If a contractor is building the site, it’s critical to agree on deadlines, completion criteria, access to code and servers, and ongoing support early on. This helps avoid delays and makes future growth easier.
Step 11. Prepare and optimize your content
Content is what attracts users to a website. A well-designed site won’t work well without clear text, good images, and organized information. You’ll typically need to prepare:
- the content itself
- descriptions of products or services
- headings and subheadings
- calls to action (CTAs)
- images, photos, and illustrations
- videos or presentations
- SEO metadata (think titles, descriptions, and alt tags)
The content should match your website’s goals and user journeys. It’s best to have the main content ready before launching, even if some materials will be added later. Empty pages can make your site feel incomplete and lower user trust.
Step 12. Set up analytics and data tracking
Before launching your website, set up analytics tools. Without data, it’s hard to see how users interact with your site, what’s working, and what needs fixing.
You can integrate web analytics systems (such as Google Analytics), tag managers (such as Google Tag Manager), conversion tracking tools, heatmaps and click-tracking tools, ad campaign tracking systems, and ad platform pixels. The choice depends on the website’s goals and marketing channels.
The minimum you should have before launch includes an analytics system with conversion tracking, as well as tracking for basic events (like clicks and form submissions). You should also verify that data collection is correct.
Step 13. Test your site before launch
Before you go live, make sure everything on the website works correctly. Testing helps find errors that could affect user experience, conversion rates, and the project’s reputation.
You must test:
- design accuracy on different devices
- performance in various browsers
- page loading speed
- functionality of forms, buttons, and interactive elements
- user registrations and logins
- payment processes
- navigation between pages
- mobile responsiveness
- display of images and media
- integration with external services
You should also check:
- SSL certificate and security connections
- redirect accuracy
- SEO settings (like meta tags and sitemap)
- page indexing
- analytics settings
- backups
- performance under heavy use
These factors are important for the site’s stability after it launches.
Step 14. Launch the website
A website launch involves several technical steps to make the project accessible to users online. Typically, the process begins by transferring the site to the main (production) server, then connecting the domain and configuring DNS records.
Next, an SSL certificate is installed to ensure secure HTTPS operation, site accessibility is checked from different regions, a final functionality check is performed, and test data and temporary files are deleted. It is also important to enable search engine indexing. After these steps, the site is officially considered launched.
Technical difficulties can sometimes arise during launch. These can include DNS update delays, domain connection errors, incorrect redirects, SSL certificate issues, integration failures, or data loss during migration.
Immediately after launch, it is recommended to ensure that the site is working correctly: pages open without errors, forms and key functions work properly, analytics is collecting data, loading speed meets expectations, and there are no critical technical issues. The first few hours after launch are an important monitoring period, as they allow you to quickly identify and resolve any issues. If the project is large or business-critical, it’s best to schedule the launch during a period of minimal user activity—for example, at night or on weekends. This reduces risks and allows time to resolve potential issues without impacting customers.
Step 15. Post-launch monitoring and development
After launch, it’s important to monitor key metrics: user behavior and conversions, traffic sources, errors and technical issues, page loading speed, integrations, security and system updates, as well as SEO rankings and indexing. Regular data analysis helps you identify issues early, before they affect users and business metrics.
After launch, a gradual development phase typically begins. This may include improving the user experience (UX), A/B testing pages, updating content, adding new features, optimizing speed and performance, expanding the site structure, and working with SEO and marketing teams.
Common mistakes after launch include failing to provide regular updates, ignoring analytics, infrequent backups, inadequate technical support, and stopping work on the site immediately after launch.
Launching a new website is a step-by-step process, and every stage is important. Successful projects rely on a solid strategy, good technical solutions, and a clear understanding of the audience.
A common mistake is treating a website as a one-time project. In reality, it’s a tool that needs ongoing development, analysis, and improvement. The better the initial preparation, the fewer issues and costs you’ll face later.
Website Launch Checklist
Strategy and Preparation
- Website goals defined
- Target audience identified
- Competitors analyzed
- Page structure created
- Functionality outlined
Technical Setup
- Domain registered
- Hosting chosen and set up
- SSL certificate enabled
- Backups configured
- All integrations working
Content and UX
- All main pages completed
- Text and images reviewed
- Calls to action added
- Mobile version tested
- Navigation made user-friendly
Analytics and SEO
- Analytics system set up
- Events and conversions configured
- Meta tags filled out
- sitemap.xml and robots.txt created
- Search engine indexing enabled
Final Review
- Forms and buttons are functioning
- Loading speed tested
- No broken links
- Website displays correctly in browsers
- Test data removed